






















Pre-Winter Deck Staining and Sealing
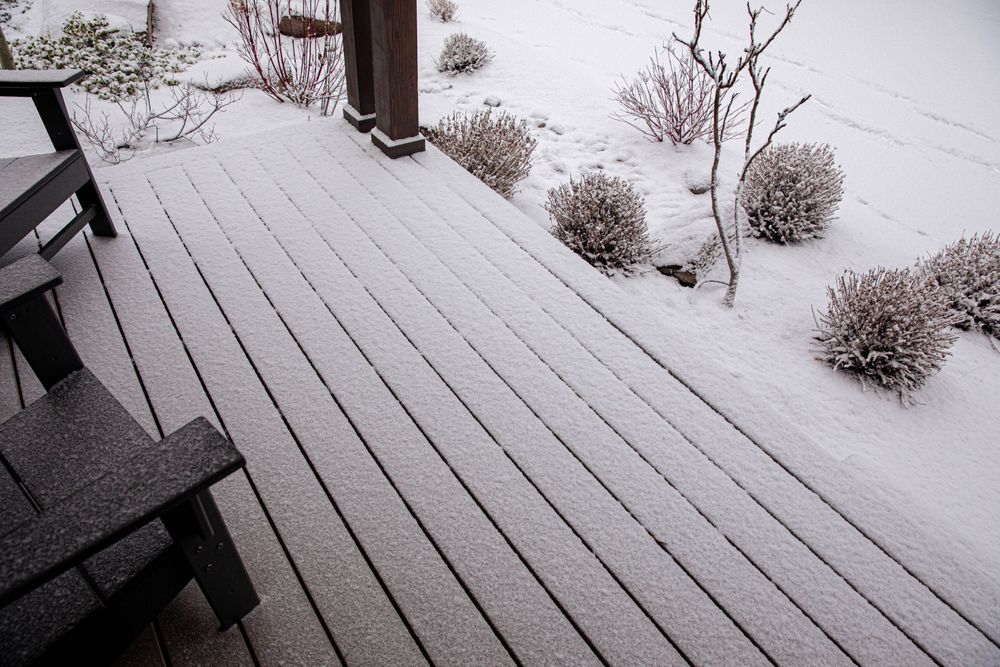
Your deck is more than just an outdoor space; it's an extension of your home, a place for relaxation and gathering. But that deck faces a relentless opponent every year: the harsh Midwest winter. Protecting it now is crucial to prevent premature aging, costly repairs, and maintain its inviting appearance. This is the ideal time for late summer deck staining to ensure your outdoor investment is fully prepared for the freezing temperatures, snow, and ice ahead. Skipping this critical step can lead to splintering, rot, and a significantly shortened lifespan for your deck.
Assessing Your Deck's Needs Before Staining
Before you even think about cracking open a can of stain, a thorough inspection and any necessary repairs are paramount. Staining over existing damage is like putting a band-aid on a broken bone – it won't hold up.
Inspecting for Damage and Repairs
Walk your entire deck, paying close attention to every board, railing, and post. Look for:
- Loose or popped fasteners: Screws or nails that have lifted out of the wood. Re-secure these or replace with corrosion-resistant deck screws.
- Splintering or cracked boards: Small splinters can be sanded down, but large cracks might indicate a need for replacement.
- Rot or soft spots: Use a screwdriver to gently probe any discolored or suspicious areas. If the wood gives way easily, it's rotting.
- Wobbly railings or posts: Ensure all structural elements are secure.
Any severely damaged boards, especially those showing signs of rot, should be replaced. R.P. Lumber carries a wide selection of pressure-treated lumber and composite decking options, perfect for matching existing materials or upgrading where needed. Address all repairs before cleaning, as the cleaning process can exacerbate existing weaknesses.
Thorough Deck Cleaning: The Foundation for Lasting Protection
A clean surface is non-negotiable for proper stain adhesion and stain longevity. If you skip this step, your beautiful new stain won't penetrate correctly and will likely peel or fade prematurely.
Choosing the Right Cleaner
Not all deck dirt is created equal, and neither are all cleaners. Selecting the appropriate product is key:
- Deck Wash: For general dirt, grime, mildew, and light graying. Many are oxygen-bleach based, which is effective at killing mildew and brightening wood without harsh chemicals. Brands like Olympic Deck Cleaner or Cabot Wood Cleaner are excellent choices for routine maintenance.
- Deck Stripper: If your deck has an existing stain or sealer that is peeling, flaking, or you want to change to a different type of finish, a stripper is necessary. These are typically alkaline-based and designed to break down old finishes. Always follow manufacturer instructions closely, as strippers can be potent.
Always test your chosen cleaner on an inconspicuous area first to ensure it doesn't cause any unwanted discoloration or damage.
Pressure Washing Techniques for Deck Prep
While a garden hose and scrub brush can work for small areas, a pressure washer makes quick work of cleaning larger decks and ensures deep penetration. However, improper use can damage your wood:
- PSI Recommendations: For softwoods like cedar or most pressure-treated pine, keep the pressure between 1200-1500 PSI. Hardwoods can handle slightly higher, but err on the side of caution. Too much pressure will splinter or fuzz the wood, creating an uneven surface for staining.
- Nozzle Type: Use a 25-degree (green) fan nozzle for general cleaning. Avoid the narrower, more aggressive 0-degree (red) or 15-degree (yellow) nozzles, which can easily damage wood.
- Technique: Hold the nozzle 12-18 inches from the deck surface, moving in long, even strokes with the grain of the wood. Overlap each pass slightly. Never hold the nozzle in one spot for too long.
- Rinsing: After applying and allowing the cleaner to dwell as directed, rinse thoroughly until all suds and residue are gone. Any remaining cleaner can interfere with stain adhesion.
Brightening and Neutralizing
This often-overlooked step is crucial, especially after using a stripper or if your wood is severely grayed. Deck brighteners, typically oxalic acid-based, serve a few key purposes:
- Restore Natural Color: They "brighten" the wood, bringing out its natural tones.
- Neutralize pH: Strippers are alkaline; a brightener neutralizes the wood's pH, which is essential for proper absorption of water-based stains.
- Open Pores: They slightly open the wood's pores, allowing the new stain to penetrate deeper and achieve better wood preservation.
Apply a brightener according to the manufacturer's instructions, typically after cleaning and rinsing, and then rinse again thoroughly. Allow the deck to dry completely – usually 2-3 days of clear, sunny weather – before applying any stain. Moisture meters can confirm the wood is ready, typically below 15% moisture content.
Selecting the Ideal Stain or Sealer for Midwest Conditions
The type of stain you choose significantly impacts your deck's appearance, protection level, and how often you'll need to reapply.
Understanding Stain Types: Transparent, Semi-Transparent, Solid
Stains are categorized by the amount of pigment they contain:
- Transparent Stains/Clear Sealers: Offer minimal pigment, allowing the natural beauty of the wood grain to show through completely. They provide good weatherproofing but typically require reapplication every 1-2 years. Best for new, beautiful wood.
- Semi-Transparent Stains: Contain more pigment than transparent stains, offering enhanced UV protection while still allowing some wood grain to be visible. They provide better protection and typically last 2-4 years. A good choice for slightly aged wood.
- Solid Stains: Opaque, similar to paint, completely covering the wood grain. They offer the maximum UV protection and hide imperfections effectively, lasting 3-5 years or more. Solid stains are ideal for older, worn decks or for changing the deck's color dramatically.
Consider the condition of your deck and the aesthetic you desire. If your deck is older and shows a lot of wear, a solid stain might be the best option for a uniform, refreshed look.
Oil-Based vs. Water-Based Formulations
The base of the stain also has implications for application and performance:
- Oil-Based Stains: Traditionally prized for their deep penetration and durability, especially on older, dry wood. They tend to have a longer open time, making it easier to avoid lap marks. Cleanup requires mineral spirits. Brands like Cabot Australian Timber Oil are well-regarded for their oil-based formulations.
- Water-Based Stains: Offer easier cleanup with soap and water, faster dry times, and are generally more environmentally friendly. They have made significant advancements in durability and can be an excellent choice. Products like Olympic Maximum often come in water-based options.
Both types offer excellent protection when properly applied. At R.P. Lumber, you'll find a wide array of options from trusted brands like Valspar Deck Stain, Olympic, and Cabot, ensuring you can find the perfect match for your project.
Crucial Application Window: Temperature and Humidity
For optimal curing and adhesion, pay close attention to the forecast:
- Temperature: Apply stain when temperatures are consistently between 50-90°F (10-32°C). Cooler temperatures will slow drying, while extreme heat can cause the stain to dry too quickly, leading to uneven application and poor penetration.
- Humidity: Avoid staining on very humid days, which can prolong drying times.
- Precipitation: Ensure there's no rain expected for at least 24-48 hours after application. Some products require even longer. Early fall in the Midwest often provides this ideal window.
- Sunlight: Avoid applying stain in direct, intense sunlight, which can cause it to dry too fast. Work in shaded areas or during cooler parts of the day if possible.
Expert Application Techniques for a Flawless Finish
With your deck prepped and your stain chosen, the final step is application. Proper technique ensures a professional, long-lasting result.
Essential Tools for Deck Staining
Gather your tools before you start:
- Brushes: High-quality exterior brushes (natural bristles for oil-based, synthetic for water-based) are essential for railings, spindles, and cutting in edges.
- Rollers: A short-nap roller (1/4" to 3/8") or a staining pad on an extension pole is efficient for deck boards.
- Pump Sprayer: For large, intricate decks, a pump sprayer can expedite application, but always plan to back-brush.
- Painter's Tape and Drop Cloths: Protect adjacent surfaces, siding, and landscaping.
- Safety Gear: Gloves, eye protection, and a mask if working with strong fumes.
Proper Staining Method
Work in small, manageable sections to maintain a wet edge and prevent lap marks.
- Stir Thoroughly: Always stir your stain well before and periodically during application.
- Edge First: Start by staining the railing, spindles, and any other vertical surfaces first.
- Deck Boards: Apply stain to 2-3 boards at a time, working from one end to the other.
- Thin, Even Coats: Don't overapply. Thinner, even coats are always better than one thick coat, which can lead to peeling. Most stains are designed for one liberal coat, but always check product instructions.
- Back-Brushing: Immediately after applying stain with a roller or sprayer, use a brush to lightly go over the surface, working the stain into the wood grain and removing any excess. This is crucial for even penetration and preventing puddling.
- Avoid Lap Marks: Always work to a wet edge, ensuring that each new section blends seamlessly with the previous one before it dries.
- Dry Time: Allow the recommended dry time between coats (if your product requires multiple coats) and before walking on the deck.
Post-Application Care and Winter Readiness
Once your stain has been applied and fully cured, your deck is ready for the Midwest winter. Regular sweeping to remove leaves and debris, especially before snowfall, will help prevent moisture from lingering on the surface. A well-executed late summer deck staining project ensures excellent wood protection and significantly extends the life and beauty of your deck.
Investing the time in late summer now pays dividends through a harsh Midwest winter. A well-maintained deck adds value and enjoyment to your home for years to come.
Visit your local R.P. Lumber store to explore our full range of deck cleaners, stains, and application tools – our team can help you pick the perfect products for your deck project and ensure your deck is truly winter-ready.